The Instant Solo Coffee Maker offers a streamlined brewing experience‚ accommodating both ground coffee and convenient pod options for versatile enjoyment.
This manual guides users through setup‚ operation‚ and maintenance‚ ensuring optimal performance and consistently delicious coffee with ease and efficiency.
What is the Instant Solo Coffee Maker?
The Instant Solo Coffee Maker is a compact‚ versatile brewing system designed for single-serve convenience. It distinguishes itself by offering flexibility – capable of brewing with both ground coffee and K-Cup pods‚ catering to diverse preferences. Unlike traditional espresso machines requiring significant expertise‚ the Solo aims for simplicity‚ making quality coffee accessible to everyone.
This appliance isn’t merely about speed; it’s about control. Users can customize brew strength and size‚ tailoring each cup to their exact liking. The machine’s design prioritizes ease of use‚ featuring an intuitive control panel and straightforward operation. It’s a fully automatic system‚ eliminating the need for manual intervention during the brewing process.
Furthermore‚ some models include an integrated milk frother‚ expanding beverage options beyond standard coffee to include lattes and cappuccinos. The Instant Solo Coffee Maker is positioned as a space-saving‚ efficient solution for individuals seeking a premium coffee experience without the complexity of larger machines.
Key Features and Benefits
The Instant Solo Coffee Maker boasts several key features enhancing the user experience. Its dual brewing system – compatible with both ground coffee and K-Cup pods – provides unparalleled versatility. Customizable brew strength allows for personalized coffee intensity‚ while adjustable cup sizes cater to individual preferences. The rapid brewing technology delivers a fresh cup in minutes‚ ideal for busy mornings.
Beyond speed and flexibility‚ the Solo offers convenience. The removable drip tray simplifies cleaning‚ and the compact design saves valuable counter space. Integrated features‚ like the optional milk frother‚ expand beverage options.
Benefits include consistent coffee quality‚ reduced waste compared to single-serve pod systems when using ground coffee‚ and a user-friendly interface. Ultimately‚ the Instant Solo provides a premium‚ customizable coffee experience without the complexity or expense of traditional machines‚ making it a valuable addition to any kitchen.

Unboxing and Initial Setup
Carefully unpack your Instant Solo Coffee Maker‚ verifying all components are present. Before first use‚ familiarize yourself with the included manual for optimal setup and operation.
Package Contents Checklist
Before beginning‚ ensure all components are accounted for. Your Instant Solo Coffee Maker package should include the following items: the Instant Solo Coffee Maker unit itself‚ a removable water reservoir‚ a brew basket‚ a permanent filter (or filter basket for paper filters)‚ and the power cord.
Additionally‚ check for the Instant Milk Frother (if your model includes one)‚ along with its accompanying power adapter and frothing attachments. A detailed user manual‚ quick start guide‚ and potentially a recipe booklet should also be present.
Carefully inspect each item for any signs of damage during shipping. If anything is missing or appears damaged‚ immediately contact Instant Customer Support for assistance and replacement parts. Retain the original packaging for potential returns or warranty claims. Confirming the complete contents now will streamline your initial setup process and ensure a hassle-free brewing experience.
First-Time Cleaning Instructions
Prior to your first brew‚ thoroughly clean the Instant Solo Coffee Maker to remove any manufacturing residue. Begin by washing the water reservoir‚ brew basket‚ and permanent filter (or filter basket) with warm‚ soapy water. Rinse these components completely‚ ensuring no soap remains.
Wipe down the exterior of the coffee maker with a damp cloth. To flush the internal system‚ fill the water reservoir to its maximum capacity with fresh water and run a full brewing cycle without coffee grounds; Discard the water from the carafe. Repeat this flushing process at least twice to guarantee a clean‚ fresh-tasting first cup.
If your model includes a milk frother‚ wipe it down with a damp cloth. Do not immerse the frother base in water. This initial cleaning process is crucial for optimal performance and flavor.
Understanding the Components
The Instant Solo Coffee Maker features a water reservoir‚ brew basket with filter‚ and an intuitive control panel for easy operation and customized brewing preferences.
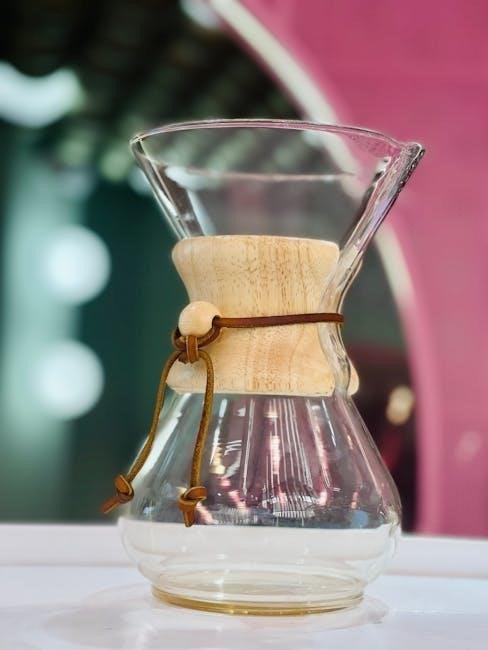
Water Reservoir
The water reservoir is a crucial component of the Instant Solo Coffee Maker‚ responsible for holding the water used during the brewing process. It’s typically removable for easy filling and cleaning‚ often featuring clear markings to indicate water levels for different cup sizes.
Always ensure the reservoir is securely seated in its base before operation to prevent leaks. Use fresh‚ filtered water for the best-tasting coffee and to minimize scale buildup. The reservoir’s capacity determines the maximum amount of coffee you can brew in a single cycle.
Regularly inspect the reservoir for any cracks or damage‚ and clean it thoroughly with mild soap and water to maintain hygiene. Avoid using abrasive cleaners‚ as they can damage the plastic. Proper water reservoir maintenance contributes significantly to the longevity and performance of your Instant Solo Coffee Maker.
Brew Basket and Filter
The brew basket securely holds the coffee filter during the brewing cycle‚ allowing hot water to saturate the grounds and extract the flavorful coffee. It’s typically designed for standard cone-shaped filters‚ though some models may use proprietary filter types.
Ensure the brew basket is properly positioned before adding coffee grounds to prevent spills or uneven extraction. Regularly clean the brew basket after each use to remove coffee residue‚ which can affect the taste of subsequent brews.
The filter itself is essential for separating the brewed coffee from the grounds. Paper filters are disposable‚ while reusable filters offer an eco-friendly alternative‚ requiring periodic cleaning. Always use a clean filter for optimal coffee quality and to prevent clogging. Proper maintenance of both the basket and filter ensures a consistently delicious cup.
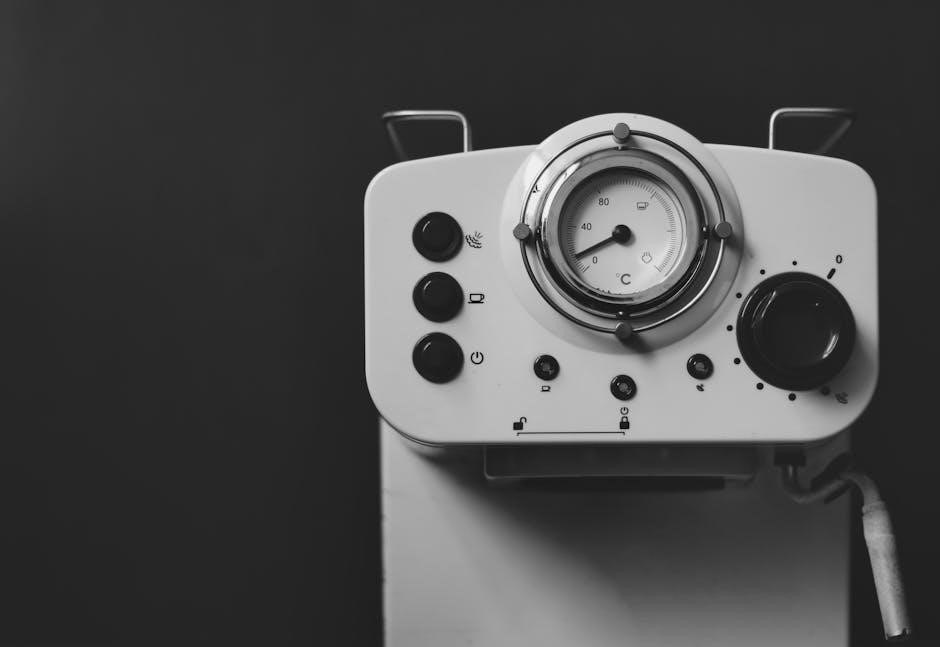
Control Panel Overview
The Instant Solo Coffee Maker’s control panel is designed for intuitive operation‚ featuring a power button to initiate the brewing process and indicator lights to signal the machine’s status. Some models include buttons for selecting brew strength – mild‚ medium‚ or strong – allowing customization to individual preferences.
A ‘Start’ or ‘Brew’ button commences the brewing cycle‚ while other buttons may control features like auto-shutoff or programmable timers for delayed brewing. The panel often displays indicators for descaling reminders or low water levels‚ ensuring optimal performance and longevity.
Familiarizing yourself with each button and indicator light is crucial for maximizing the coffee maker’s functionality. Refer to the detailed diagram in this manual for specific button locations and their corresponding functions‚ enabling a seamless and enjoyable brewing experience.
Brewing with Ground Coffee
Using ground coffee provides a customizable flavor experience. Measure the desired amount and add it to the brew basket with a filter‚ ensuring optimal extraction.
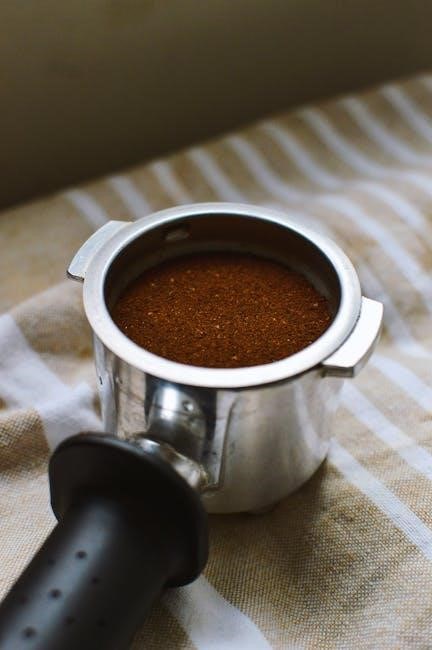
Measuring and Adding Ground Coffee
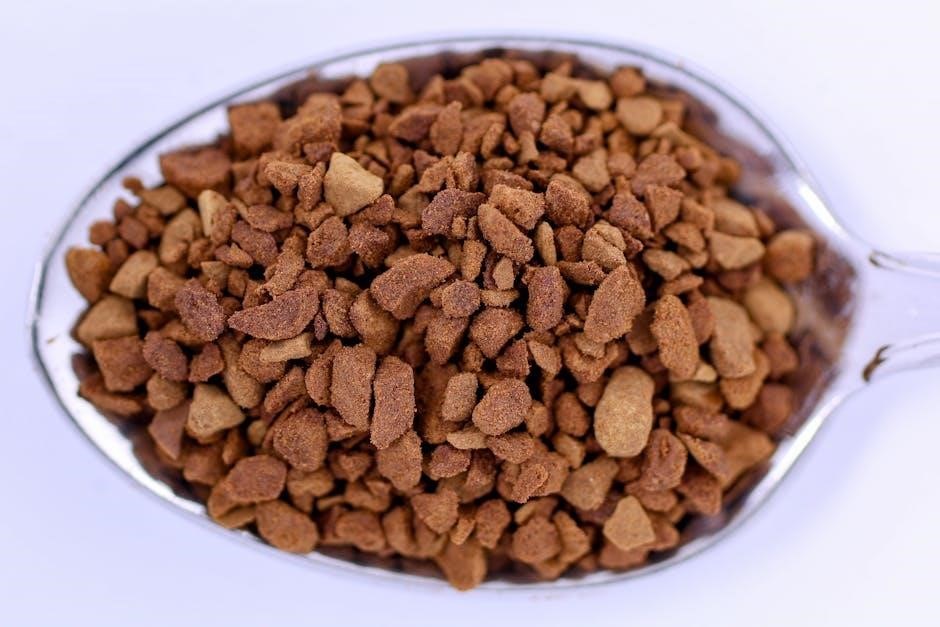
Achieving the perfect brew with ground coffee begins with accurate measurement. The Instant Solo Coffee Maker performs best with a medium grind; too fine can cause clogging‚ while too coarse results in weak coffee.
Generally‚ one to two tablespoons of ground coffee per six ounces of water is a good starting point‚ but adjust to your preference. Use the included scoop or a standard tablespoon for consistent results.
Carefully place a paper filter into the brew basket‚ ensuring it sits securely. Add the measured ground coffee evenly into the filter. Gently level the grounds for even saturation during brewing.
Avoid overfilling the filter‚ as this can lead to overflow. A slight mound is acceptable‚ but ensure it doesn’t exceed the basket’s capacity. Remember‚ experimentation is key to discovering your ideal coffee-to-water ratio!
Water Level Guidelines
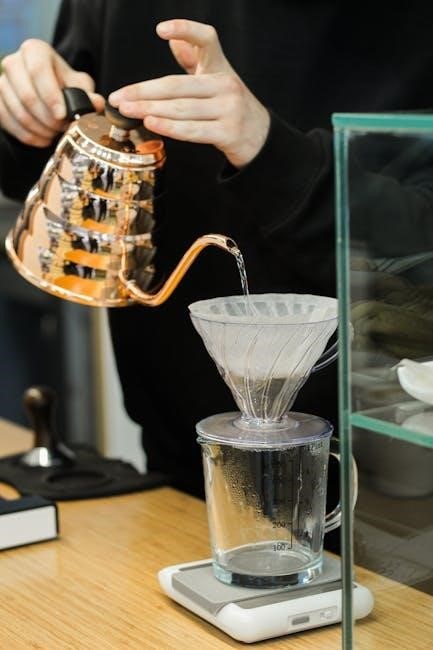
Proper water measurement is crucial for optimal brewing with the Instant Solo Coffee Maker. The water reservoir features clear markings indicating cup measurements‚ simplifying the process.
Always fill the reservoir with fresh‚ filtered water for the best-tasting coffee. Avoid using distilled water‚ as it lacks the minerals necessary for proper extraction. Refer to the markings on the reservoir to determine the appropriate water level based on your desired number of cups.
Do not exceed the maximum fill line indicated on the reservoir. Overfilling can cause water to spill during brewing. For single-serve brewing‚ fill to the ‘1’ cup mark. For larger batches‚ incrementally increase the water level accordingly.
Ensure the water level corresponds to the amount of coffee grounds used for a balanced flavor. Consistent water-to-coffee ratios are key to repeatable‚ delicious results.
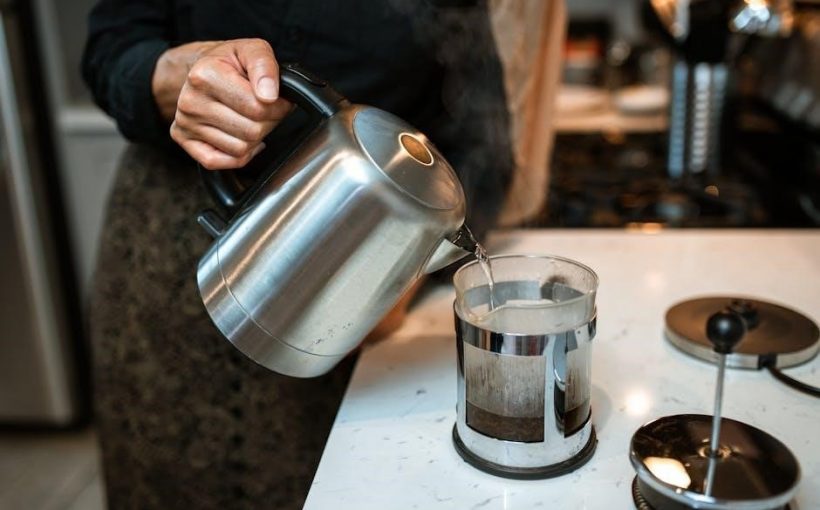
Step-by-Step Brewing Process
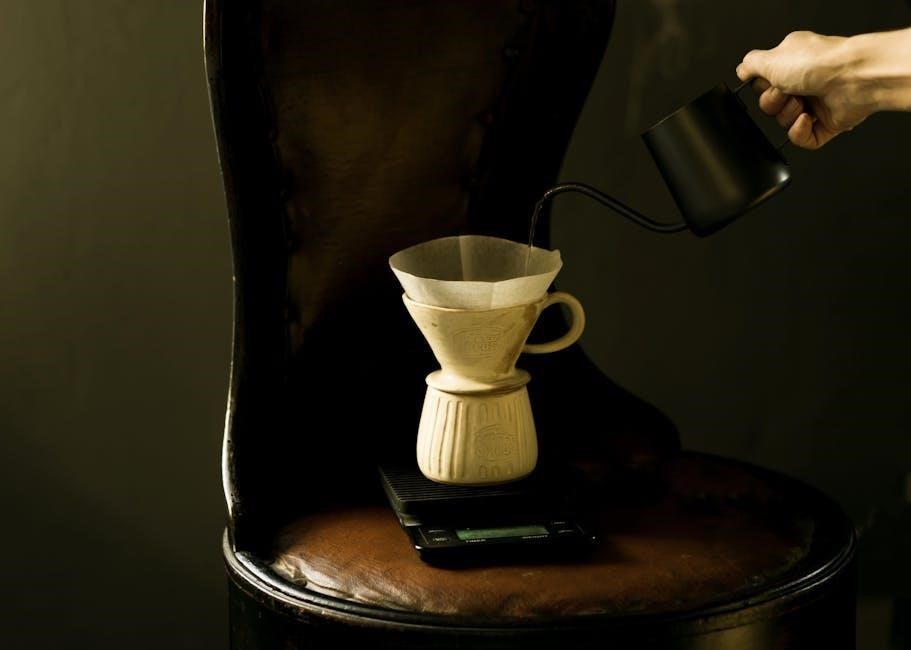
Begin by ensuring the water reservoir is filled to the desired level‚ referencing the water level guidelines. Next‚ place a paper filter into the brew basket‚ ensuring it sits securely. Add the measured ground coffee into the filter – typically one to two tablespoons per six ounces of water.
Close the lid firmly‚ aligning it properly with the coffee maker base. Place a mug or carafe onto the warming plate. Press the power button to initiate the brewing cycle. The machine will automatically heat the water and begin dripping coffee into your receptacle.
Allow the brewing cycle to complete fully before removing the mug or carafe. Once finished‚ carefully remove and discard the used coffee grounds and filter. Enjoy your freshly brewed coffee!
Using the Instant Milk Frother (If Applicable)
The Instant Milk Frother effortlessly creates light and airy foam for lattes and cappuccinos‚ enhancing your coffee experience with almond milk or alternatives.
Frothing Almond Milk and Other Alternatives
Achieving perfectly frothed milk with the Instant Milk Frother extends beyond dairy options; almond milk‚ soy milk‚ and oat milk all respond beautifully to the frothing process. For optimal results‚ ensure your chosen milk alternative is cold before beginning. Add the milk to the frother‚ being mindful not to exceed the maximum fill line indicated inside the unit.
Select your desired froth setting – ‘Light Foam’ is ideal for a delicate texture‚ while ‘Dense Foam’ creates a richer‚ more substantial froth. Press the ‘START’ button‚ and the frother will automatically heat and aerate the milk. The frother will automatically shut off once the process is complete.
Experiment with additions like honey‚ turmeric‚ or cinnamon before frothing for flavored milk foam. Remember that different milk alternatives may yield slightly varying results in terms of foam volume and stability. Cleaning the frother immediately after use prevents milk residue buildup and ensures consistent performance.
Cleaning the Milk Frother
Maintaining the Instant Milk Frother’s hygiene is crucial for optimal performance and preventing unwanted flavors. Immediately after each use‚ disassemble the frother‚ separating the whisk and the jug. Rinse all components thoroughly under warm‚ soapy water. Pay particular attention to removing any milk residue from the whisk‚ as this can harden and become difficult to clean.
For stubborn residue‚ soak the whisk and jug in warm‚ soapy water for several minutes before rinsing. The jug is often dishwasher safe (check your model’s manual for confirmation)‚ offering a convenient cleaning option. Ensure all parts are completely dry before reassembling and storing.
Avoid using abrasive cleaners or scouring pads‚ as these can damage the non-stick coating of the jug. Regular cleaning prevents buildup and ensures consistently smooth and flavorful frothed milk. A clean frother contributes significantly to the overall enjoyment of your coffee experience.
Maintenance and Cleaning
Regular maintenance ensures longevity and optimal performance of your Instant Solo Coffee Maker. Descaling and cleaning removable parts are essential for consistently delicious coffee.
Descaling the Coffee Maker
Over time‚ mineral deposits from water can accumulate inside your Instant Solo Coffee Maker‚ affecting brewing performance and coffee taste. Descaling removes these deposits‚ restoring optimal functionality. It’s recommended to descale every 3-6 months‚ depending on water hardness.
To begin‚ empty the water reservoir and fill it with a descaling solution – you can use a commercially available descaling product specifically designed for coffee makers‚ or a mixture of equal parts white vinegar and water. Follow the descaling solution’s instructions carefully.
Run a full brewing cycle without coffee grounds. Repeat this process 2-3 times with fresh descaling solution or water to thoroughly rinse the system. Finally‚ run 2-3 cycles with clean water only to remove any residual descaling solution or vinegar taste. Ensure all parts are thoroughly rinsed before brewing coffee again.
Regular descaling will prolong the life of your coffee maker and ensure consistently flavorful coffee.
Cleaning Removable Parts
Maintaining cleanliness of your Instant Solo Coffee Maker’s removable parts is crucial for hygiene and optimal performance. After each use‚ promptly remove and wash the brew basket‚ filter‚ and water reservoir with warm‚ soapy water. Ensure all soap residue is thoroughly rinsed away.
The brew basket and filter can often be placed in the dishwasher (top rack recommended)‚ but check your model’s specific instructions. The water reservoir should be hand-washed to prevent damage. Avoid using abrasive cleaners or scouring pads‚ as these can scratch the surfaces.
For the milk frother (if applicable)‚ disassemble all components and wash them immediately after each use to prevent milk residue from hardening. Pay close attention to the whisk and any small parts. Ensure everything is completely dry before reassembling.
Regular cleaning prevents buildup and ensures fresh-tasting coffee with every brew.

Troubleshooting Common Issues
Addressing typical problems ensures continued enjoyment of your Instant Solo Coffee Maker. This section provides solutions for issues like power failures or inconsistent brew quality.
Coffee Maker Not Turning On
If your Instant Solo Coffee Maker fails to power on‚ begin with the simplest checks. First‚ verify the power cord is securely plugged into both the coffee maker and a functioning wall outlet. Test the outlet with another device to confirm it’s delivering power.
Next‚ examine the power cord itself for any visible damage‚ such as fraying or cuts. A damaged cord presents a safety hazard and should be replaced. Ensure the unit’s power switch is fully engaged – sometimes a partial press won’t activate the system.
Check if the water reservoir is properly seated. Some models have a safety mechanism that prevents operation if the reservoir isn’t correctly in place. Finally‚ consult the user manual for any specific reset procedures or fuse checks applicable to your model. If these steps don’t resolve the issue‚ contact customer support for further assistance.
Weak or Bitter Coffee
Experiencing weak or bitter coffee from your Instant Solo Coffee Maker? Several factors could be at play. For weak coffee‚ increase the amount of ground coffee used per brew cycle. Ensure you’re using a medium grind – too coarse and the water passes through too quickly‚ resulting in under-extraction. Also‚ verify the water temperature is optimal; a lower temperature leads to weak flavor.
Bitter coffee often indicates over-extraction. Try using a coarser grind size to slow down the water flow. Reduce the brewing time if your model allows adjustment. Using excessively hot water can also contribute to bitterness‚ so ensure the temperature setting is appropriate.
Finally‚ the quality of your coffee beans significantly impacts the taste. Freshly ground‚ high-quality beans generally produce a more balanced and flavorful cup. Regularly cleaning your coffee maker is also crucial‚ as buildup can affect the brewing process.